
Like the other features of Microsoft’s spreadsheet application, you can learn how to master macros by enrolling in Excel online training programs. They are also taught in certain digital upskilling courses.
Access the Developer Tab
Before you can use macros on Excel, the first thing you have to do is activate the Developer tab. This can be easily done by clicking on File in the toolbar and selecting Options from the drop-down menu. Then, click on Customize Ribbon from the window and check the box next to Developer, which can be found under the Main Tabs section. You can also open this window by using the keyboard shortcut Alt+T+O or Alt+F+T.
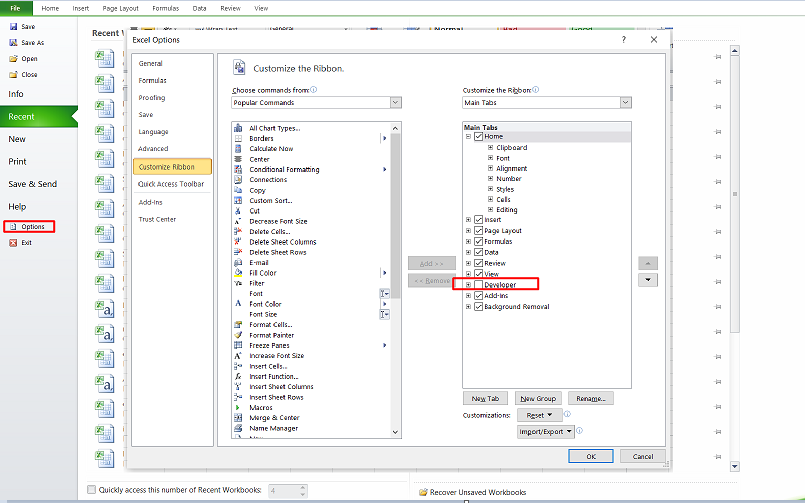
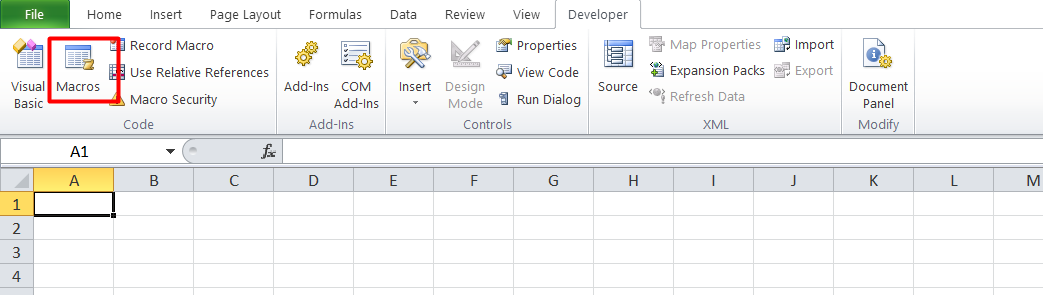
After clicking OK, go back to your spreadsheet’s toolbar and select the Developer tab. From there, you’ll be able to see the option to record your macros. You can activate or deactivate this feature on this window.
Preparing to Record
While browsing the Developer Tab, you’ll see an option called Use Relative References, which is usually below the Record Macro function. Activating this option by clicking on it allows Excel to record actions or macros that are relative to the active cell.
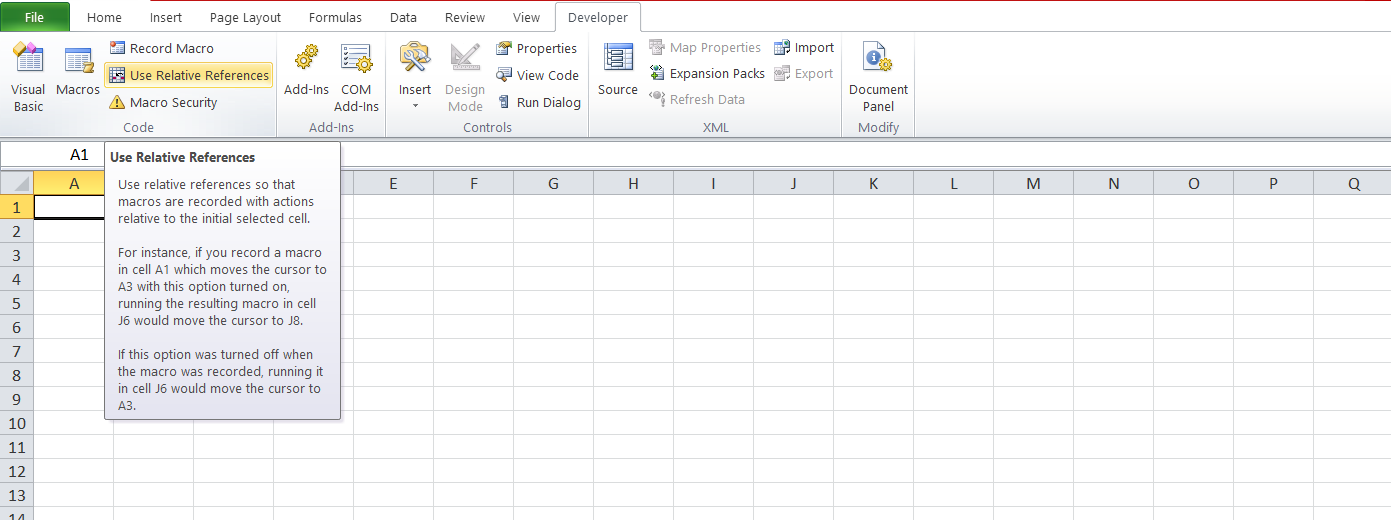
By turning on this option, you’ll be able to repeat the same recorded set of data that you entered into a cell into another part of the worksheet without manually typing it or copying and pasting it. This feature is helpful, especially if you’re working on a spreadsheet that involves using the same figures in different cells.
Labeling your Macros
Another important aspect that you need to know when working with macros is how to assign names to them. By labeling your macros, you’ll have an easier time going back to them or using them throughout your spreadsheets.
To do this, select the macro icon next to the word Ready located at the bottom of the spreadsheet. Although Excel already assigns default names to your macros, such as Macro1 and Macro2, it’s better to use unique and descriptive names related to the contents of your macro. Make sure to follow the guidelines when naming macros, such as including underscores and using letters instead of numbers as the first character of the label.
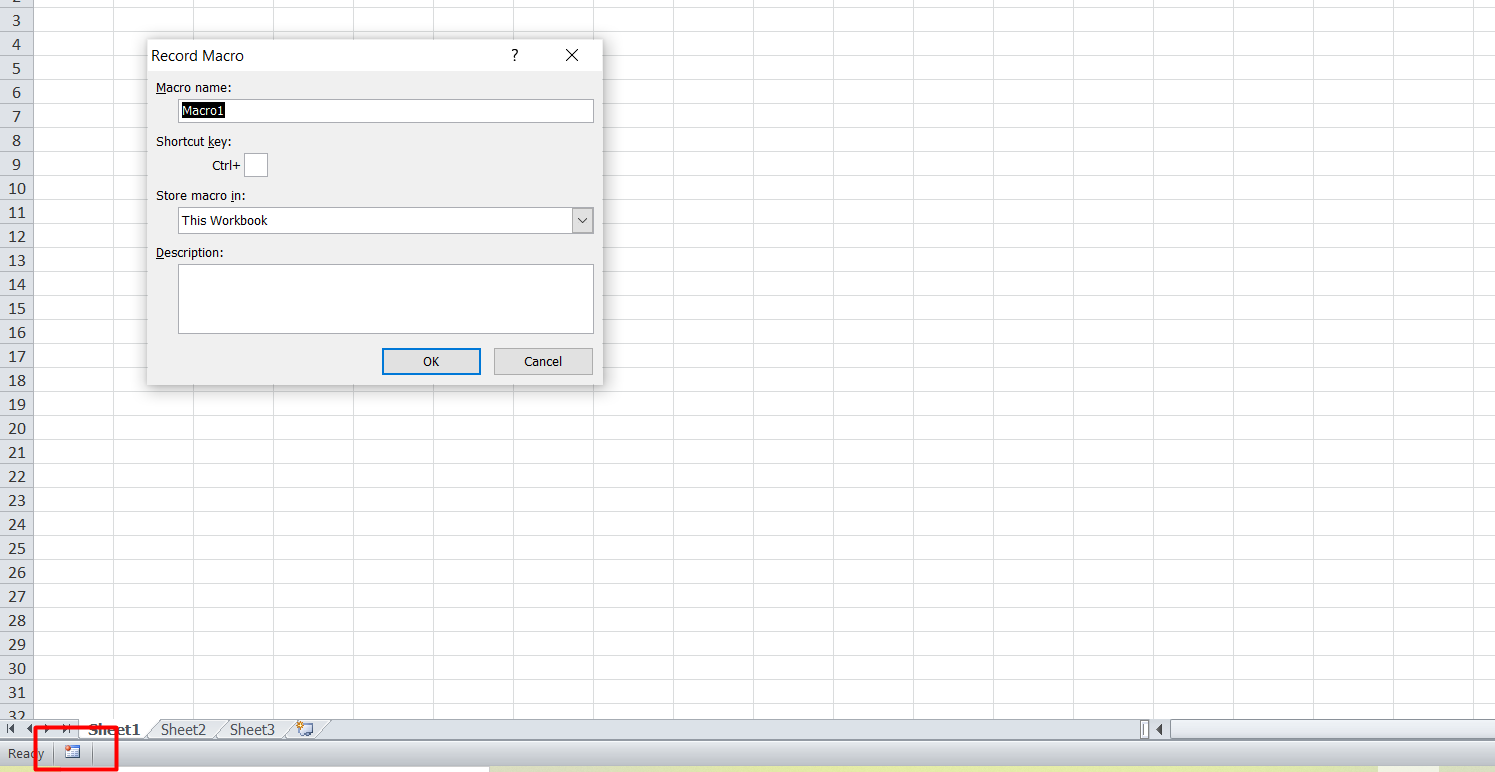
You also have the option to assign a keyboard shortcut to each macro that you record. This option can help improve your efficiency by allowing you to enter a recorded macro by pressing a combination of keys.
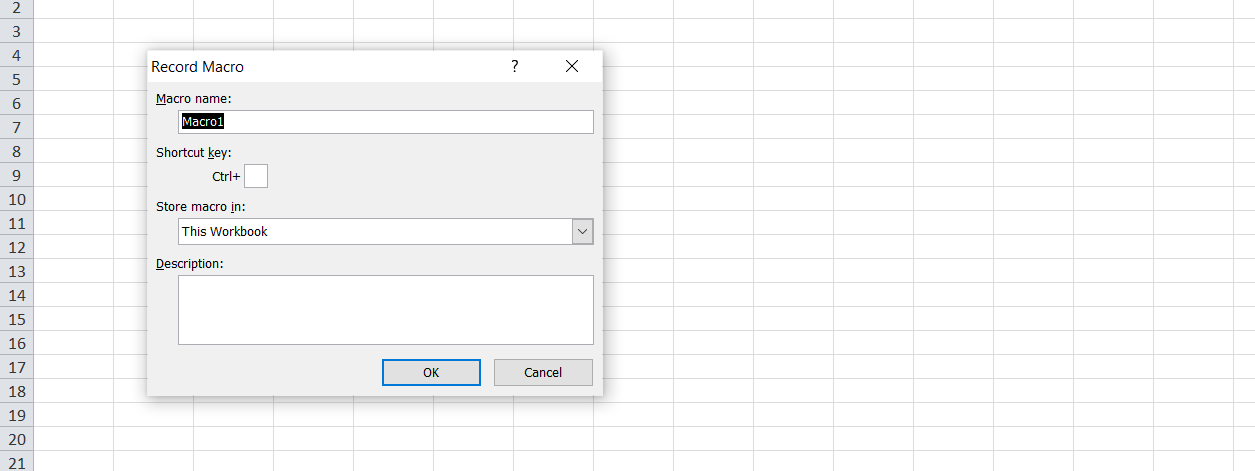
Aside from entering a keyboard shortcut, you also have the option to store your recorded macro to an existing spreadsheet or a new one. If you select the New Workbook option, Excel will automatically open a new spreadsheet. By default, all macros are stored in the spreadsheet that you’re currently working on until you choose otherwise.
Another useful function is the option to include a description for each of your macros. Like the keyboard shortcut function, this feature is also optional. However, including detailed descriptions of what each macro is for is very helpful, especially if you’re working on a shared spreadsheet with your colleagues or workmates. Through these descriptions, you and the other users can easily know how and when to use the worksheet’s different macros.
Editing Your Macros
In some cases, you might need to edit and adjust the range of your macro. Although this task may sound complicated since it involves tweaking the programming language used to record the macro, Excel offers a dedicated option that allows users to easily accomplish this.
If you want to make certain changes to your macro, simply click on the Developer tab and click on Macros. You’ll then see a small window that contains the names of your recorded macros. Select the macro that you would like to work on and click on Edit.
You’ll then be redirected to a window that shows you the VBA panel. Under your selected macro, you’ll see two lines with the word Range and the label of the cell. By deleting these lines, you’ll be able to remove the restrictions on your selected macro and use it on other parts of your worksheet.
Other Interesting Macros and Excel Tutorials
Check also the available Macros Classes.


0 Responses to Easy-to-Follow Guide To Excel’s Macros